Australia-Wide Delivery
Discreet Shipping
High Quality Products
Buy now pay later
Customer Support
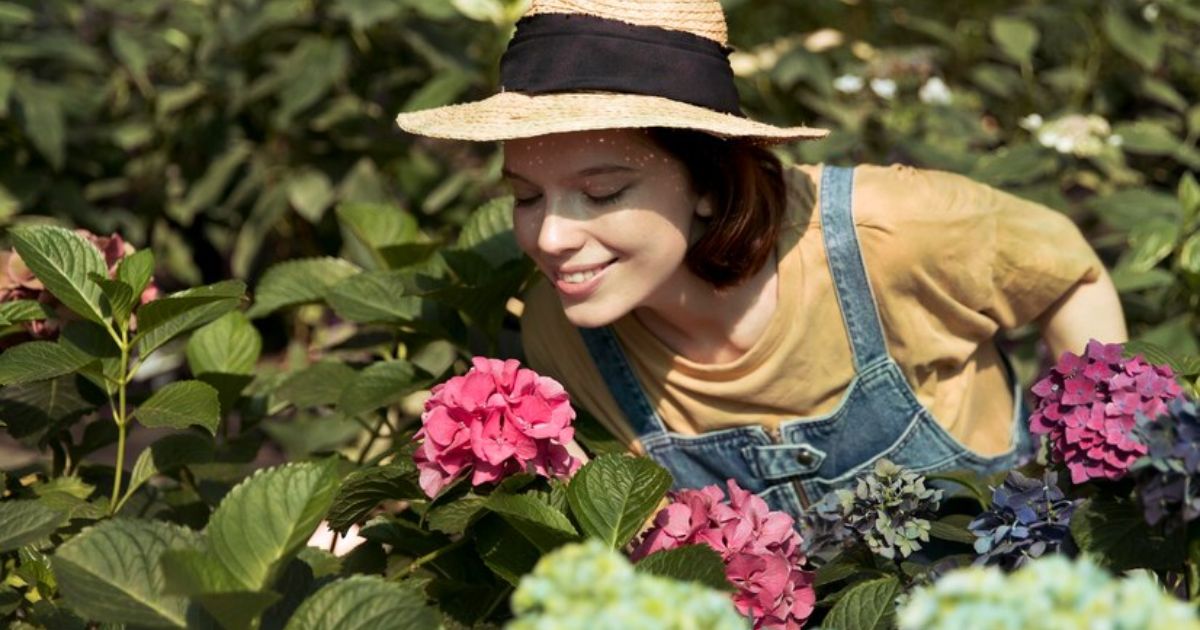
Each flower has its unique charm. Roses represent love, lavender flowers are gracefully beautiful, and hydrangeas are loved for their pure beauty. Hydrangeas are a top choice for gardens and homes alike. If you dream of having a garden full of hydrangeas, this article will guide you on how to propagate hydrangea to create a stunning space by stem cuttings and division method.
Following these five steps to learn how to propagate hydrangeas
Like lavender propagation, spring or early summer is also the best time to take cuttings from hydrangeas(big-leaf, oak-leaf, smooth, or panicle types). The cuttings will have a good chance of growing into solid plants by fall.
Spring is an ideal season because the plants will overgrow at this time, giving the cuttings plenty of time to develop roots before the colder months.
It's better to take cuttings in the early morning or evening to prevent the stems from heat. You can also take cuttings in late summer or fall to grow indoors; however, this is generally more challenging and only sometimes succeeds.
When growing new plants, you should prepare the right tools and materials to make propagation more effective.
When choosing the plants for cutting, pick a young stem that grew during the current season. It'll look lighter than the older ones. For the best results, select a stem with plenty of leaves and no flowers.
To propagate the plant, use the clean pruner to cut the stem 4" to 6" long just above the leaf node. At the top of each cutting, remove all leaves but leave some. When you remove leaves, the stem will focus nutrients more on encouraging root growth instead of leaf growth, facilitating the successful propagation of hydrangeas.
Dipping the root end in the Rootex rooting hormone is essential for better hydrangea growth. It helps roots grow more robustly and evenly.
How to apply:
Many plants can grow roots in water, but hydrangeas need a different approach. They won't root in water, so you must plant their cuttings in a potting mix like Nature Premium Potting Mix. This potting mix should drain well, usually from coir, sand, or peat moss.
Pick a pot that fits your space and the number of hydrangea cuttings you want to plant, and make a hole 2’’-3" deep for each cutting. When planting a hydrangea cutting, put it into the soil up to the bottom set of leaves, remembering to firmly pack the soil around the stems and water it well.
Humidity is crucial for these flowering plants to maintain root growth. Since they're still growing roots, we need to keep the soil moist to support their stems until they can absorb water, which can take a couple of weeks.
To help your cuttings grow, put them in a warm area with indirect sunlight. Water the soil when it feels dry to keep it moist but not too soggy. Regularly misting the cuttings 1-2 times daily will prevent them from drying out and maintain the necessary humidity level.
Hydrangea cuttings might take 2-4 weeks to grow roots, depending on several conditions, including temperature, humidity, and the plants' overall health. Keeping them in a warm, humid environment will help this process be more effective.
To check if your cuttings are growing roots, gently pull on them. If you feel a bit of resistance, new roots are forming. Then, you'll also see new leaves sprouting.
Once your new hydrangeas look strong and healthy with plenty of new growth, it's time to transplant them into bigger pots or in your garden.
If you plant the cuttings in the garden, space them 4 to 6 feet apart. If you plant them in the fall, they'll grow into flowering bushes by the following season. Always keep enough water and humidity in any climate for the cuttings, even when planting outdoors or indoors.
If you have a mature hydrangea plant with many stems, there is an alternative method that you can use to make new plants through division. Following these steps:
With our simple instructions, you know how to propagate hydrangea and prepare to make a beautiful garden or home. With a bit of care and experimentation, you'll soon enjoy the delightful blooms of these lovely flowers.
Hydrangea is a plant with woody stems, so you should use a unique seed-starting potting mix to help the hydrangea cuttings grow roots; you can not grow hydrangea cuttings in water.
A month. Roots usually start to grow in around one month after planting the cutting. You'll know they've formed when you feel some resistance if you gently pull on the stem.