Australia-Wide Delivery
Discreet Shipping
High Quality Products
Buy now pay later
Customer Support
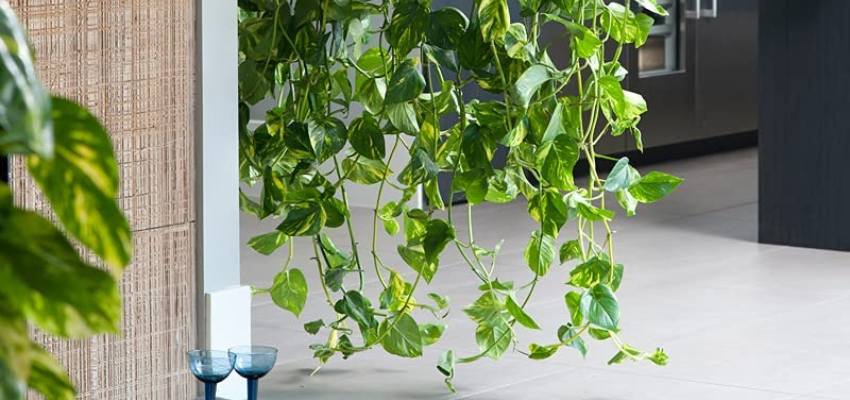
Monstera deliciosa, the Swiss cheese plant or split-leaf philodendron, is a popular houseplant due to its lush, attractive leaves and dark green color. But have you ever wondered if you can propagate Monstera deliciosa and make a cheeky new plant?
If you own an existing Monstera that is getting a bit monster-ish, it is the ideal opportunity to grow more Monstera from cuttings. Our comprehensive step-by-step guide below explains how to propagate Monstera.
The best time to propagate a Monstera is during its active growing season, especially in the spring and summer.
During these seasons, more sunlight and warmth are ideal for Monstera to grow and develop roots.
Although propagating indoors in fall and winter is possible, root development will be much slower because the plant isn't in its active growing phase. You'll need to provide warmer temperatures to compensate.
Before getting to know how to propagate Monstera, you must prepare the materials first.
There are a few ways to propagate your Monstera cutting. You can use perlite by itself or add perlite or orchid bark to your standard potting mix for improved drainage.
Another option is to make your own Monstera propagation mix by combining equal parts of peat moss, perlite, and organic compost. But before doing that, do stem cutting on Monstera:
When potting a plant, fill the container halfway with soil, leaving an inch of space between the soil and the top of the pot. Sprinkle some water onto the soil.
Next, look at the mother plant and select a healthy-looking stem with a Monstera node (a bumpy area along the stem that can provide new growth), at least 1 aerial root, and at least 2 leaves. Cut the stem cleanly below the node or an aerial root.
>>> See more: How To Take Plant Cuttings With 9 Basic Steps (Expert Guide)
To help your Monstera cutting grow roots faster and better, dip the end of the stem in rooting hormone powder, tap it to remove excess powder, and plant it in the soil.
Next, press down your finger or a stick in the soil to create a hole, and place the cutting so that the Monstera node is 1 inch below the soil surface. If aerial roots can't fit in the pot, coil them around the top and cover them with more soil. If they're too big, you can cut them back.
A light coating of rooting hormone powder is enough to ensure your Monstera cutting grows well.
To grow healthy Monstera stem cuttings, place them in a warm spot receiving indirect light. Make sure to keep the soil evenly moist but not too wet. After a week or two, you should let the top layer of soil dry out. This will prevent root rot and promote healthy growth.
>>> See more: How To Propagate A Peach Tree: Basic Steps for Beginners
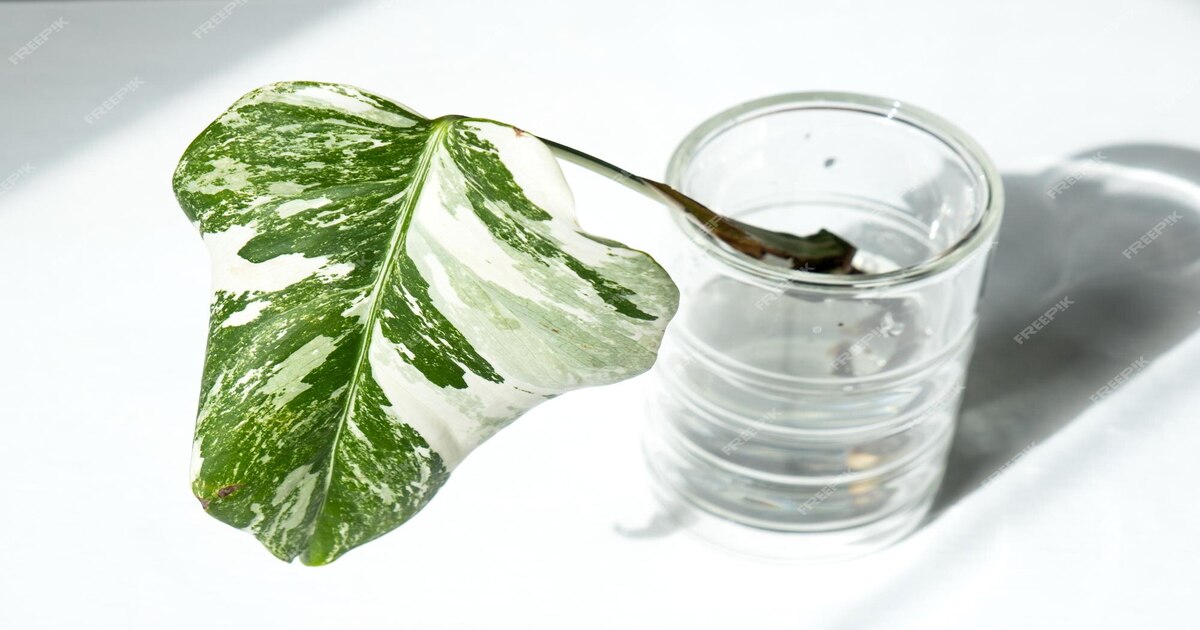
Unlike propagating Monstera in water, air layering is less risky because it eliminates the possibility of the cutting rotting or failing to root. Additionally, you can monitor root development without disturbing the Monstera cutting from the growing medium.
Before propagating:
To ensure that your plants get the moisture they need to thrive, follow these simple steps:
Watch the moss for the next few weeks and spray it with water if it starts to dry out. Over the following months, roots will grow into the sphagnum moss, visible through the clear plastic.
>>> See more: How To Propagate Plants In Water: The Ultimate Guide 2024
You can cut large sections of the plant and then split them into individual cuttings, each with its aerial root, or remove one stem from the main plant to the root. See the 2 basic steps below to understand how to propagate Monstera with division.
Gently remove the Monstera from its current pot. Tap or loosen the sides of the mixed pot to encourage the plant to slide out.
It's time to examine the root system by gently separating stems and roots. If the roots are intertwined, use your sterilized knife or shears to carefully cut through the root ball, ensuring each section has healthy roots and at least one or two stems with leaves.
Fill each new pot with the well-draining potting mix, leaving some space at the top. Place each divided section in its pot, ensuring the roots are spread out evenly. Fill the remaining space with potting mix, slightly pressing it around the base of the plant.
Water the newly planted Monsteras thoroughly until water runs out of the drainage holes.
Pro tips:
>>> See more: How To Propagate Pine Trees: Step-By-Step Guide for Starters
Soil propagation is the easiest and most common method for growing a new Swiss cheese plant from an existing one.
All you need to do is take a stem cutting and place it directly in a pot of moist soil that drains well. Here are the steps you should follow to propagate a Monstera plant in soil:
Select a healthy stem with at least one aerial node (the bumpy part where leaves and roots can grow) and a couple of leaves. The Monstera cutting should ideally be 4-6 inches long.
Then, pick a pot with drainage holes around 4-6 inches in diameter. Use an aerated, well-draining potting mix.
A common option is a mixture of potting soil with perlite added for extra drainage. While not a must, sterilizing your cutting tool with rubbing alcohol can help avoid the spread of bacteria.
Using a sharp knife or pruning shears, make a clean cut just below an aerial node. You can also cut just above a node, but placing the node underground might encourage root growth.
You can dip the cut stem in the rooting hormone to promote root development, but this is not strictly necessary for Monsteras.
Fill your pot with the potting mix, leaving about an inch of space at the top. Make a hole in the center of the mix and insert the stem, ensuring at least one node is buried underground.
Gently water the soil until it is moist but not soggy. You can use a support stick to keep the cutting upright, but this isn't always necessary.
Keep the potting medium moist for the first 1 to 2 weeks. When you water, put the pot in a sink and allow excess water to drain. After the first week, the top of the soil will dry out between waterings.
Keep your cutting out of direct sunlight in a bright, warm location.
Yes, Monstera deliciosa can be propagated from stem cuttings, air layering, or division if each division includes a node (the point where a leaf develops on a stem).
The fastest way to get a lot of leaf fenestrations in Monsteras is to give them plenty of light and to prune old leaves consistently. Regular pruning can help promote bushier growth by encouraging the plant to produce more stems and foliage.
Trim leaves at the point about 2 inches under the node ( this is where the leaf meets the stem) to form your Monstera and stimulate healthy growth. Another option is to turn those clippings into more monsters.
No. Propagation isn't possible from aerial roots, which don't have nodes to encourage new root growth. Thankfully, Monsteras can easily propagate from healthy stem cuttings (providing a node where a leaf will develop), air layering, or division.