Australia-Wide Delivery
Discreet Shipping
High Quality Products
Buy now pay later
Customer Support
Hydroponics frees plants from the dirt while still providing all the necessary nutrients for growth. Join us as we explore how to grow hydroponic plants and surpass traditional soil limitations. It's time to discover the magic of cultivating lush gardens without a soil bed – proof of the evolution of cultivation practices.
Once you know why you would want to start growing with hydroponics, we want to introduce 5 types of grow systems. Each offers a unique approach to soil-less cultivation and upgrades your gardening experience.
The wick system keeps hydroponics simple with no costly machinery or electrical gadgets. Many would use cotton wick when setting up this system at home because of its ease of installation and low material cost. Yet, for medium to large plants, it's not an ideal choice as it cannot deliver enough nutrients to support the needs of larger plants.
To solve this issue, use Autopot - which can grow almost anything. It is more aggressive, wicks quicker, and wicks more nutrient-solution at once. Don't know where to buy them? Look no further than Benchmark Hydroponics, your go-to source for hydroponic supplies in Melbourne.
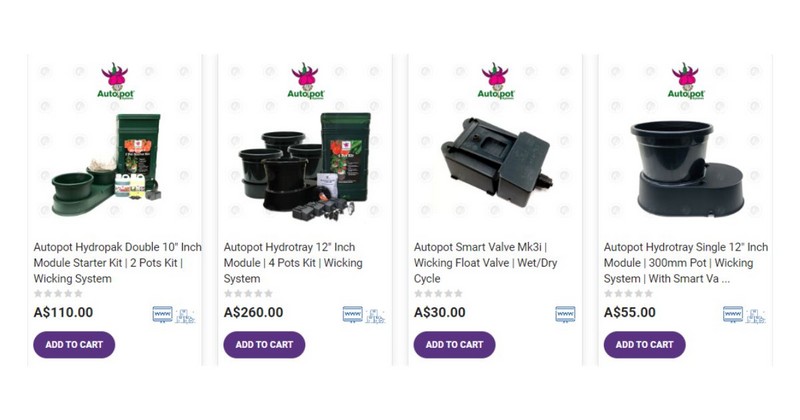
Autopot Wicking Systems
However, if you still prefer a non-aggressive wick system for small plants, follow this instruction for a cotton wick system:
Step 1: Set Up a Water Reservoir
Step 2: Connect Wicks to the Growing Tray
Step 3: Set Up a Growing Tray
Step 4: Set Up a Light Fixture:
If using artificial light, set up an incandescent light fixture 24 inches from the plants.
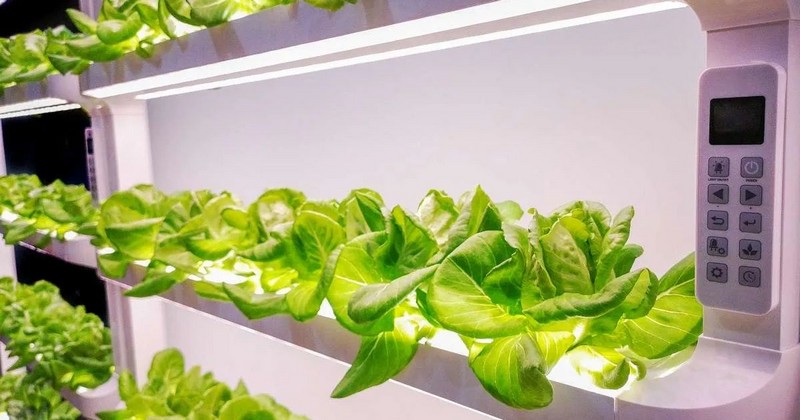
What is one of the easiest types of hydroponics system to set up? Many would answer the water culture system, commonly known as the lettuce raft system. Setting it up is a breeze – place your plants on a floating Styrofoam platform.
However, unlike the wick system, the water culture method requires a bit of water aeration through the raft system. Lettuce and spinach are the best vegetables to grow in this system.
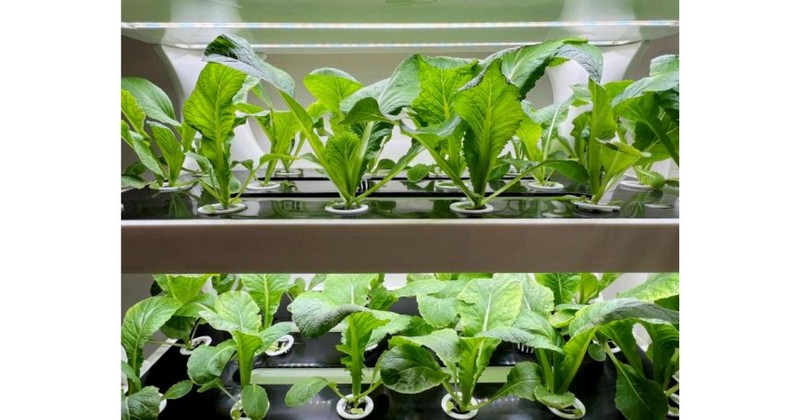
Water Culture (Lettuce Raft) System (Image Source: Food Network)
Step 1: Set Up the Water Reservoir
Step 2: Aerate the Water
Step 3: Set Up Your Growing Raft
Step 4: Place the Light Fixture
Let's talk about the ebb and flow hydroponics system, also known as the flood and drain system. This system will add a touch of sophistication to your garden. Here's the breakdown:
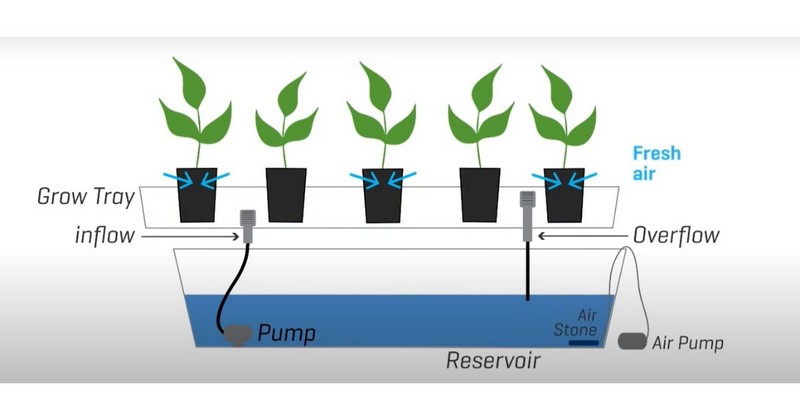
Ebb and Flow System (Image Source: Youtube)
Step 1: Set Up the Water Reservoir
Step 2: Connect a Fill Tube and Drain Tube
Step 3: Connect a Submersible Pump and Timer
Step 4: Set Up the Flood Tray
Step 5: Light It Up:
The ebb and flow system balances complexity and adaptability, creating the perfect environment for your plants to flourish. Therefore, learning how to grow hydroponic plants in this system is the first step to building a flourishing garden where your plants thrive.
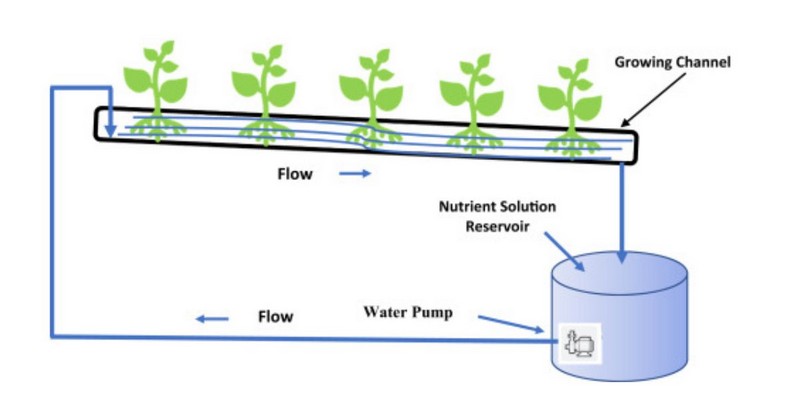
NFT in hydroponic growing (Image Source: ScienDirect)
The nutrient film technique (NFT) takes hydroponic gardening to a new level by maintaining a continuous flow of water-nutrient solution. It creates an optimal environment for plant roots to absorb nutrients. Let's dive into the workings of this dynamic system:
Step 1: Set Up the Water Reservoir and Aeration
Step 2: Connect the Fill Tube, Drain Tube, and Pump
Step 3: Set Up the Growing Tray
Step 4: Light It Up
NFT thrives on a constant, nutrient-rich water flow, making it an excellent choice for fast-growing, shallow-rooted plants like lettuce, spinach, radishes, and herbs.
The advanced hydroponic system keeps plant roots in the air and mists them with nutrient solutions. While remarkably effective, this method demands sophisticated pumps and misters. Any equipment malfunction can lead to rapid dehydration and the swift death of plant roots.
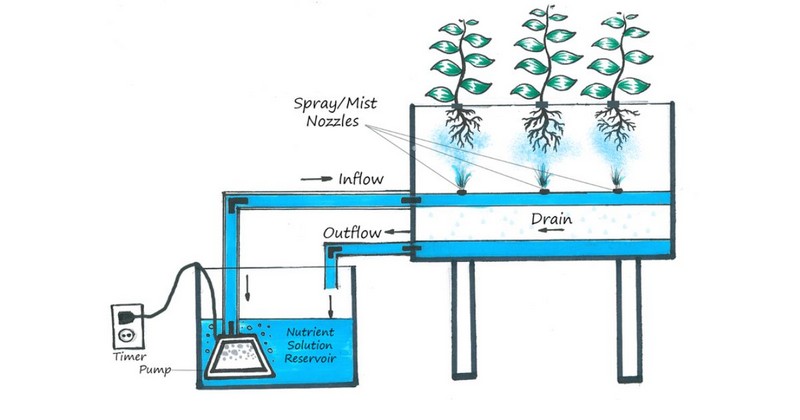
How Aeroponic system works (Image Source: Medium)
Step 1: Set Up a Water Reservoir with Aeration
Step 2: Connect a Submersible Pump
Step 3: Set Up the Growing Chamber
Step 4: Set Up a Light Fixture
Starting hydroponic gardening requires knowledge, budget, and patience. For beginners, learning how to make sure your water doesn't kill your plants is a critical first step. Let's explore crucial tips for a successful hydroponic garden:
Giving your plants ample sunlight is a good practice to ensure their healthy growth. Each plant needs different amounts of sunlight at various stages of growth.
For example, some plants need 12 hours of sunlight for bud production. During the growth stage, it needs 18 hours of sunlight followed by 6 hours of darkness. So, implement a suitable timer for your lighting system to maintain consistent on/off cycles, promoting optimal growth.
A lighting system will promote optimal growth (Image Source: Stocking My Pantry).
Promote constant airflow with fans to enable carbon dioxide distribution. You can also attach carbon filters hydroponics to the fans to mask unwanted smells and enable carbon dioxide distribution.
High-intensity discharge (HID) light fixtures like the Philips Son-T-Light High-Pressure Sodium Lamp are ideal for hydroponic setups. Also, metal halide bulbs emit blue light and cater to plants in vegetative growth.
T5 lighting is another excellent option for small plants, seedlings, or clones, offering high-output fluorescence with minimal heat and energy consumption.
Different plants require different temperatures; hence, you must research the specific plant to find out the proper temperature settings. Too high or too low temperatures can stunt plant development, and excessive water temperatures may lead to detrimental root rot. Hence, ideal temperatures will vary depending on which plant you're growing.
Besides temperature, keeping an ideal humidity in your hydroponic grow room is essential. Whether you grow vegetative or flower, humidity levels vary based on the type of plant and its growth stage. Remember, excessive moisture, especially in poorly ventilated spaces, can invite issues like powdery mildew.
Address the mineral content in your water, especially if it's high. Hard water with elevated minerals may slow nutrient dissolution. Consider filtering your water to enhance effectiveness.
Along with that, remember to maintain water pH levels between 5.8 and 6.2 for hydroponic gardening. Adjust pH using tools and chemicals if needed, ensuring the ideal slightly acidic environment.
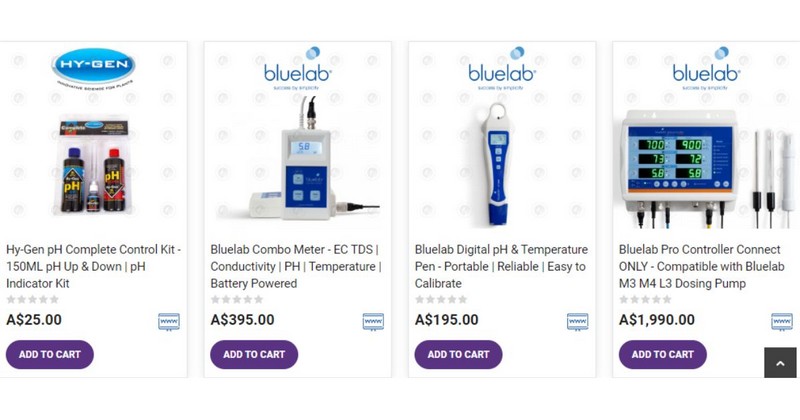
pH meters & test kits
Opt for plants with shallow root systems for easier hydroponic cultivation. Herbs like basil, oregano, cilantro, and leafy greens like lettuce and kale are ideal for beginners. Then, you can experiment with larger crops like tomatoes, peppers, and strawberries as you gain experience.
We've explored diverse options for beginners and enthusiasts, from the simple Wick System to the intricate Aeroponic System. Each method offers a unique approach, and success lies in understanding, adapting, and nurturing. As you continue on this green adventure, follow us for more detailed instructions on how to grow hydroponic plants.